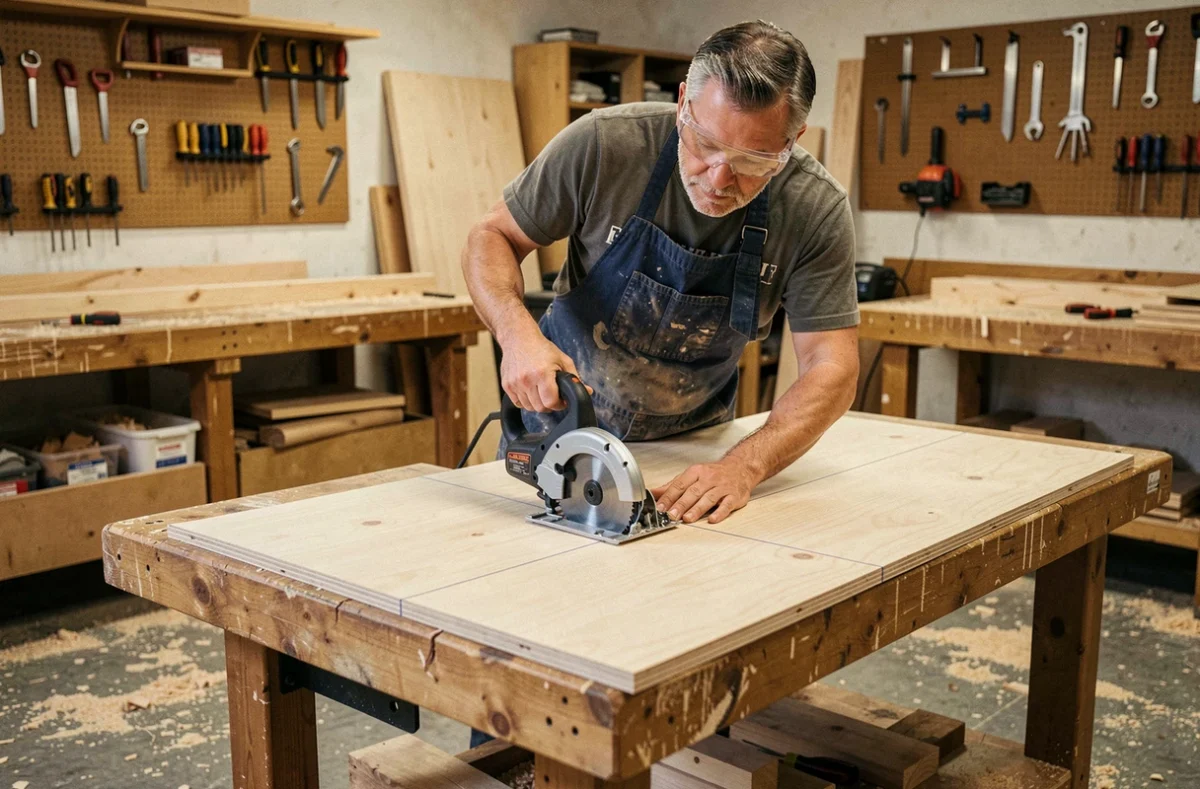
Achieving a straight cut with a circular saw depends less on the firmness of the gesture than on the preparation beforehand. The type of guidance, the condition of the blade, and the support of the piece produce measurable discrepancies in the final straightness. This article compares the main guidance methods and details the technical causes of a drifting cut.
Diagnosis of a drifting cut: guidance or freehand cutting
Before investing in an accessory, it is essential to identify the source of the problem. A guided cut that deviates has different causes than a freehand cut. Confusing the two leads to correcting the wrong parameter.
In freehand cutting, the drift almost always comes from uneven lateral pressure on the base. The slightest release of pressure causes the saw to pivot by a few tenths of a degree, resulting in several millimeters of deviation over a panel length.
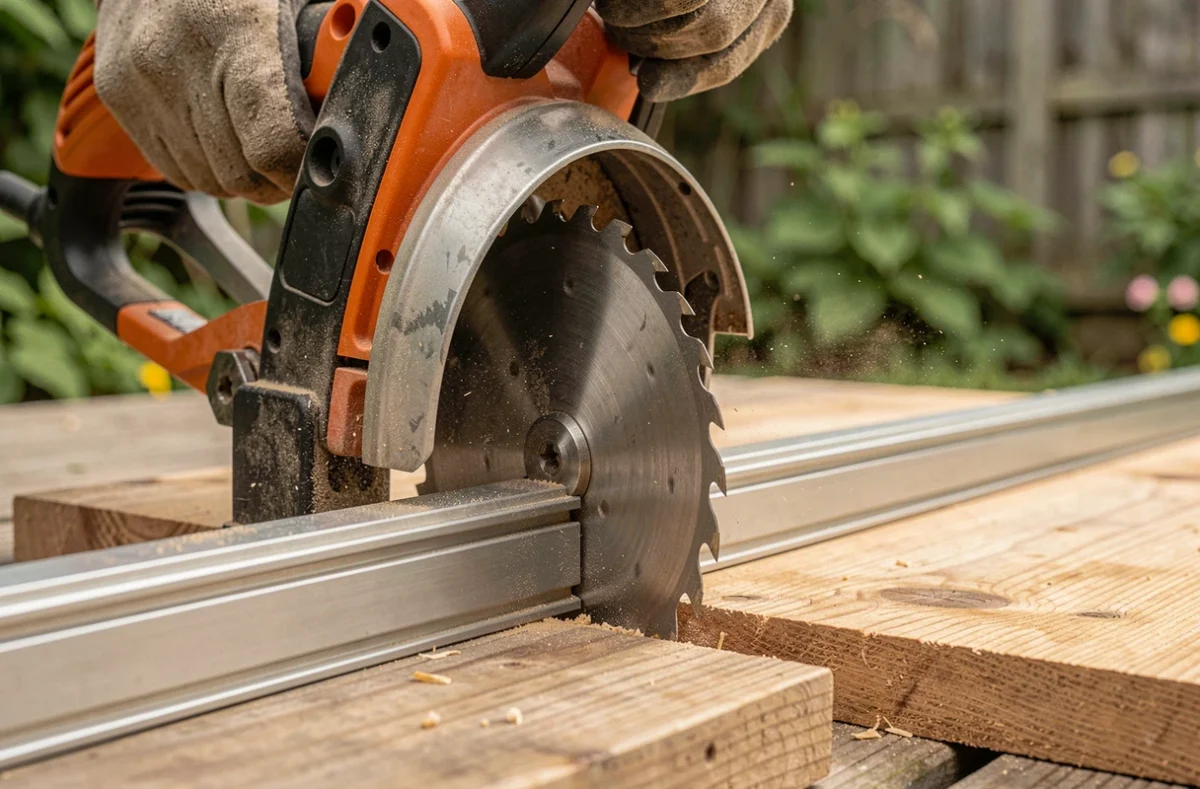
With a rail or a parallel guide, the drift indicates a mechanical or setup issue. According to The Carpenter’s Guide, the main causes are rail warping, the movement of clamps during cutting, chips stuck under the base, and incompatibility between the guide and the saw model. Consulting a guide for cutting straight with a circular saw allows for reviewing each of these checkpoints before starting the cut.
Guiding rail, parallel guide, and homemade rule: comparison table
The choice of guidance system directly affects the precision and repeatability of cuts. Here is a comparison of the three most common methods.
| Criterion | Manufacturer’s rail | Parallel guide (provided) | Homemade rule (batten + plywood) |
|---|---|---|---|
| Typical precision | Very high | Medium | High (if well calibrated) |
| Cutting length | Up to the length of the rail (often 1.40 m or more) | Limited by the distance to the edge of the piece | Variable, to be made to measure |
| Compatibility | Sometimes requires a specific adapter or trolley | Included with the saw | Universal |
| Risk of drift | Low if the base is well pressed | Medium (the guide may slip on uneven edges) | Low if clamps are well positioned |
| Cost | High | Included | Very low |
The manufacturer’s rail offers the best consistency, but a standard circular saw is not automatically compatible with a guiding rail. Some models require an adapter for the base to remain pressed. Without this pressing, the cut loses all reliability.
In contrast, the homemade rule (a straight batten screwed onto a strip of plywood) achieves comparable precision for a fraction of the budget. The principle: the plywood strip is cut to the exact width of the offset between the blade and the edge of the base. The batten then serves as a direct stop on the cutting line.
Support of the piece and blade pinching: the underestimated parameter
The support on both sides of the saw line is crucial to avoid pinching. A poorly supported piece can sag during cutting, closing the line on the blade and causing a sudden recoil of the saw.
This phenomenon mainly affects large panels placed on two trestles. If the support is only under the ends, the center flexes as soon as the blade exceeds half the panel. The solution is to add spacers or a third support on each side of the future line.
Points to check before each cut
- The panel rests on a continuous support or on at least three distributed points, so that neither the left nor the right side tilts after separation.
- The clamps hold the piece and the guide without encroaching on the path of the base or the passage of the lower guard.
- The blade depth exceeds the thickness of the material by only a few millimeters, limiting splintering on exit and reducing lateral pressure on the blade.

Flatness of the material: what the rail does not correct
A perfectly straight guide can produce a straight cut while retaining the defects of the piece. Warping, cupping, or twisting remain in the wood after the blade passes. The circular saw does not replace a planer.
On a slightly cupped melamine panel, the base follows the curved surface. The line will be straight in horizontal projection, but the edge will present a slight bulge. For assemblies that require a flat edge (cabinets, adjoining shelves), the panel must first be stabilized by placing it on a reference surface and securing it flat before cutting.
Dust extraction and visibility of the line
Chips accumulating in front of the cutting line obscure the marking and can slip under the base. In a workshop, source extraction reduces the soiling of the base and improves tracking accuracy. Connecting a vacuum to the saw port, when available, avoids blowing chips by hand during cutting, a gesture that destabilizes the tool.
The visibility of the line remains a direct factor of straightness. On dark wood, a simple white pencil line or a clear masking tape makes it easier to spot. Some saws offer a laser guide, but its reliability depends on calibration: a laser misaligned with the blade gives a false impression of precision.
The consistency of a cut with a circular saw relies on a chain of interdependent parameters. A well-chosen rail does not compensate for a deformed panel, an unstable support, or chips under the base. Checking each link before starting the saw remains the most reliable method to achieve a clean edge without rework.