
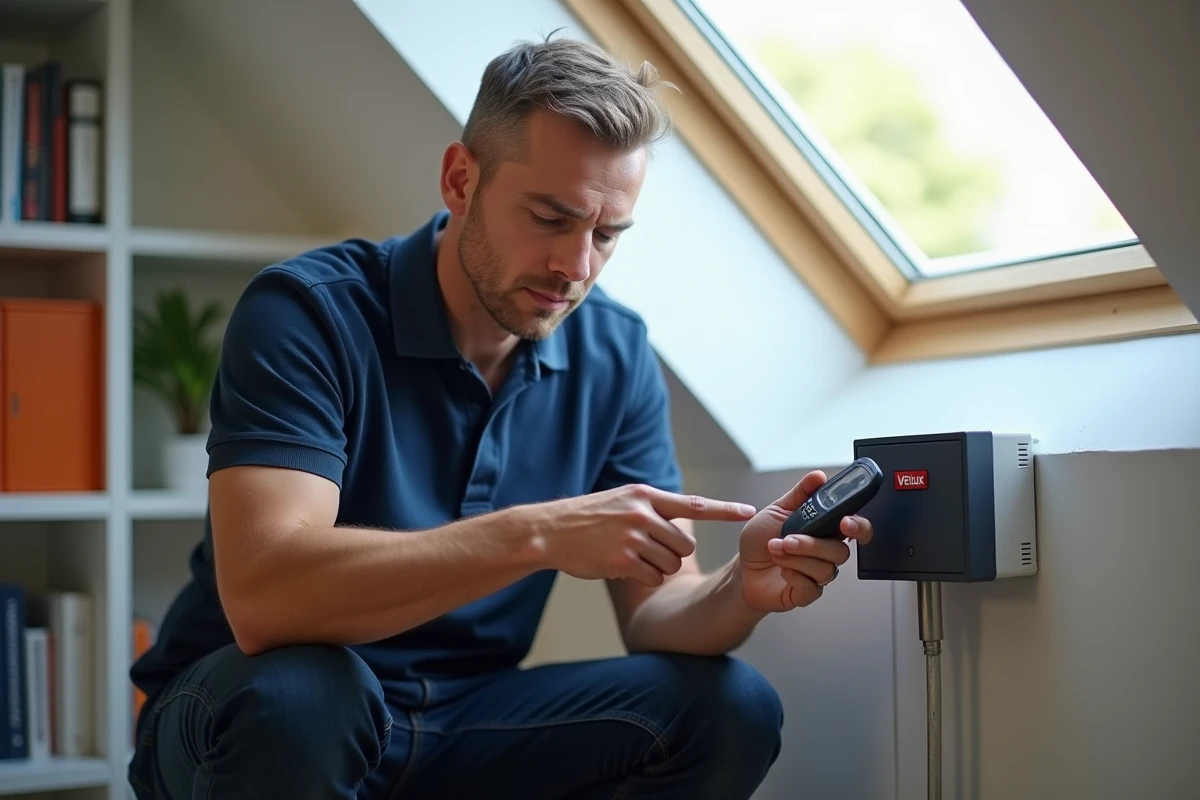
Your motorized skylight window no longer responds when you press the remote control. Before considering a motor failure or contacting a technician, the problem often stems from a simple pairing issue between the remote and the receiver integrated into the Velux product. The procedure takes a few minutes, provided you know exactly which button to press and in what order.
io-homecontrol Protocol: What Your Velux Remote Exchanges with the Motor
Each recent Velux remote communicates with the motor of the roller shutter or window via the io-homecontrol protocol. This encrypted protocol operates with a shared “security key”: the remote and the motor must have the same key to recognize each other.
Read also : How to Sell Your House Quickly After a Divorce: Tips and Effective Solutions
When this key is lost (after an accidental reset, prolonged battery change, or replacement of a remote), the motor ignores the commands. This is where pairing comes in: it reintroduces a common key between the two devices.
On recent models, some remotes are delivered factory-paired with the corresponding motor. Replacement with the same model then works almost immediately, but only if the motor belongs to the same generation and protocol. An old KUX or KMX motor will not recognize a recent io remote, and vice versa.
You may also like : How to Become a Minor Pet Sitter from Age 12: Practical Tips and Tricks
To check compatibility, simply read the nameplate on the Velux product (reference starting with GGL, SSL, KUX, etc.) and compare it to that indicated on the remote. This verification saves time on a pairing procedure destined to fail. You can also easily pair a Velux remote by following the steps tailored to your specific model.
Resetting the Velux Motor Before Pairing
Have you already tried to pair without success? In most cases, the motor retains the old security key in memory and refuses the new one. You must first reset it.
Solar Roller Shutter SSL
For an SSL roller shutter, the reset involves cutting the power. Since the solar panel continuously powers the battery, you need to disconnect the connector from the photovoltaic cell located at the top of the shutter, on the outside. Wait about ten seconds, then reconnect.
The shutter will then perform a brief back-and-forth movement. This signal confirms that the motor’s memory has been cleared and that it is awaiting a new pairing.
Electric Motorized Window (GGL, GGU Integra)
For a mains-powered window, the cut is made at the dedicated circuit breaker. Turn it off, wait a few seconds, then turn it back on. The window should make a slight calibration movement. If nothing moves, the motor may no longer be powered correctly, which indicates an electrical issue, not a pairing problem.
Pairing Procedure According to the Type of Velux Remote
The manipulation differs depending on the remote model. Here are the three most common cases.
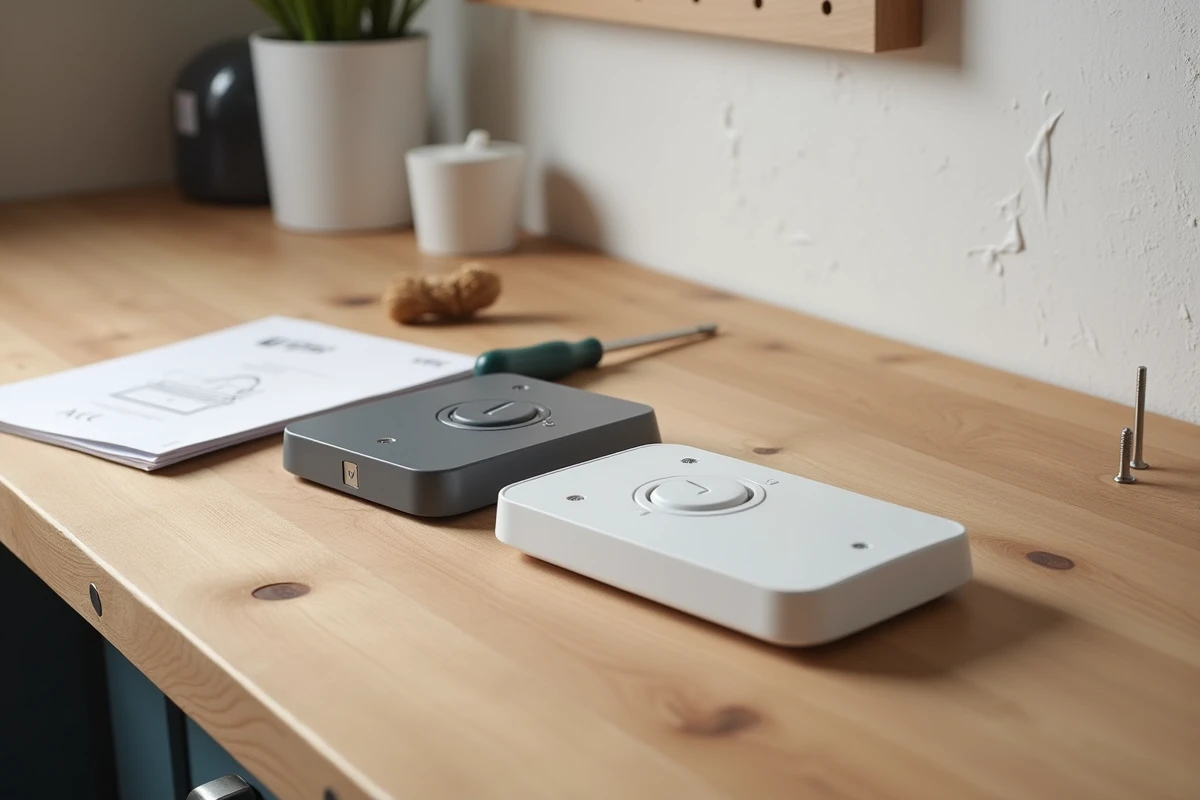
Single-Product Remote (Type KLI 110)
This is the simple wall control, associated with a single shutter or window. After resetting the motor:
- Briefly press the pairing button located at the back of the remote (often accessible with a paperclip or fine point).
- The diode on the remote flashes to indicate search mode.
- The motor picks up the signal and performs a small movement to confirm the link.
The pairing must be initiated within minutes following the motor reset. If you wait too long, the motor exits reception mode, and you will need to restart the reset process.
KLI 310 Wall Remote
The KLI 310 manages multiple products on different channels. The logic remains the same, but you must first select the free channel on which you wish to register the product. The programming button is also located at the back. After pressing it, the remote scans for motors awaiting pairing within its range.
KLR 100 Screen Remote
The KLR 100 features a screen that guides the procedure step by step. After resetting the motor:
- Access the “Registration” or “Add Product” menu directly on the screen.
- The remote initiates a search for available products around it.
- Select the detected product and confirm to finalize the association.
- Immediately test by sending an open or close command.
Velux Pairing with Gateway and App: Order Matters
Are you using a Velux Active home automation box (with Netatmo) or the Velux App Control app? The pairing of a physical remote does not happen first.
Velux recommends first pairing windows and shutters to the gateway via the app, then adding physical remotes as additional controls. Reversing this order causes security key conflicts: the remote takes control over the gateway, and the app loses the link with the product.
In practice, open the app, initiate product detection from the gateway, then add the remote last. This sequencing prevents synchronization losses between the remote, app, and climate sensors.
Three Common Mistakes That Block Pairing a Velux Remote
Even when following the correct procedure, some details can cause the operation to fail.
Weak batteries in the remote. A remote with dying batteries emits a signal that is too weak for the motor to capture during the pairing phase. Always replace them before starting.
Incorrect identification of the product model. Velux support forms now require the exact product code and photos of the nameplate before proposing a procedure. If you are unsure whether your shutter is an SSL, SML, or SMG, the plate located on the product frame (accessible with the window open) provides the full reference.
Attempting to pair between two incompatible generations (an old RTS motor and a recent io remote, for example) will not trigger any reaction from the motor, without an error message. Silence is the only indication of a protocol incompatibility.
Pairing a Velux remote relies on a precise sequence: identify the protocol, reset the motor, and immediately initiate the search. By following this order and checking the compatibility of references, the remote will regain control of the product in a few minutes.